前言
一直以来在 Windows 10 上一般是直接用自带的 cmd 或者 PowerShell,感觉界面是挺丑的。
另一方面在 Linux 环境下用 zsh 加了自动补全用着就贼爽,于是就想到能不能在 Windows 下也整个 zsh。
大概搜了一下,可以有以下几种选择。
- WSL (Windows Subsystem for Linux, 适用于 Linux 的 Windows 子系统) + zsh
- CygWin + zsh
- Git Bash + zsh
由于已经配了虚拟机,在 Windows 10 上不大想也懒得装 WSL2(而且还占用一堆 C盘空间无法接受),而 Git 带有的 Bash 感觉是个不错的选择。
于是折腾了一下,配了个 Windows Terminal + git-bash + zsh + oh-my-zsh,感觉有点意思,这里顺便就来记录一下。
Steps
0x00 安装 git bash for windows
官方下载链接,点开就能弹出下载 ↓
https://git-scm.com/download/win
安装就略了,当前的最新版本是 2.29.2。安装完成后会有个 git bash 程序。
(啊,我发现忘记截图了,问题不大)
记得留意一下 Git 的安装目录,下面会用到。
例如我安装在 D:\Program Files\Git。
0x01 安装 zsh
Zsh is a shell designed for interactive use, although it is also a powerful scripting language. Many of the useful features of bash, ksh, and tcsh were incorporated into zsh; many original features were added. The introductory document details some of the unique features of zsh. It assumes basic knowledge of the standard UNIX shells; the intent is to show a reader already familiar with one of the other major shells what makes zsh more useful or more powerful.
在下面的网站可以下载到最新的 zsh 安装包:
https://packages.msys2.org/package/zsh?repo=msys&variant=x86_64
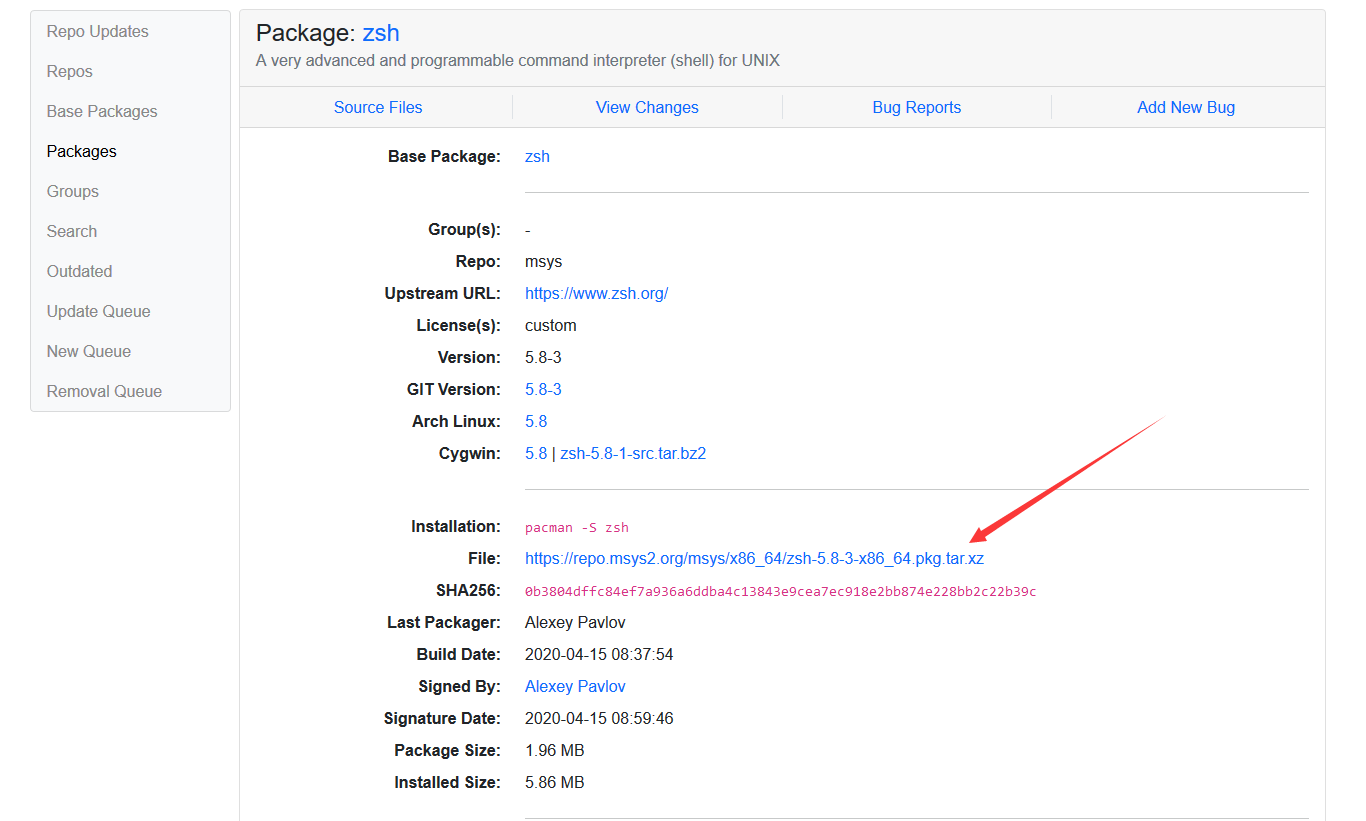
下载完成后解压再解压,可以看到文件如下。
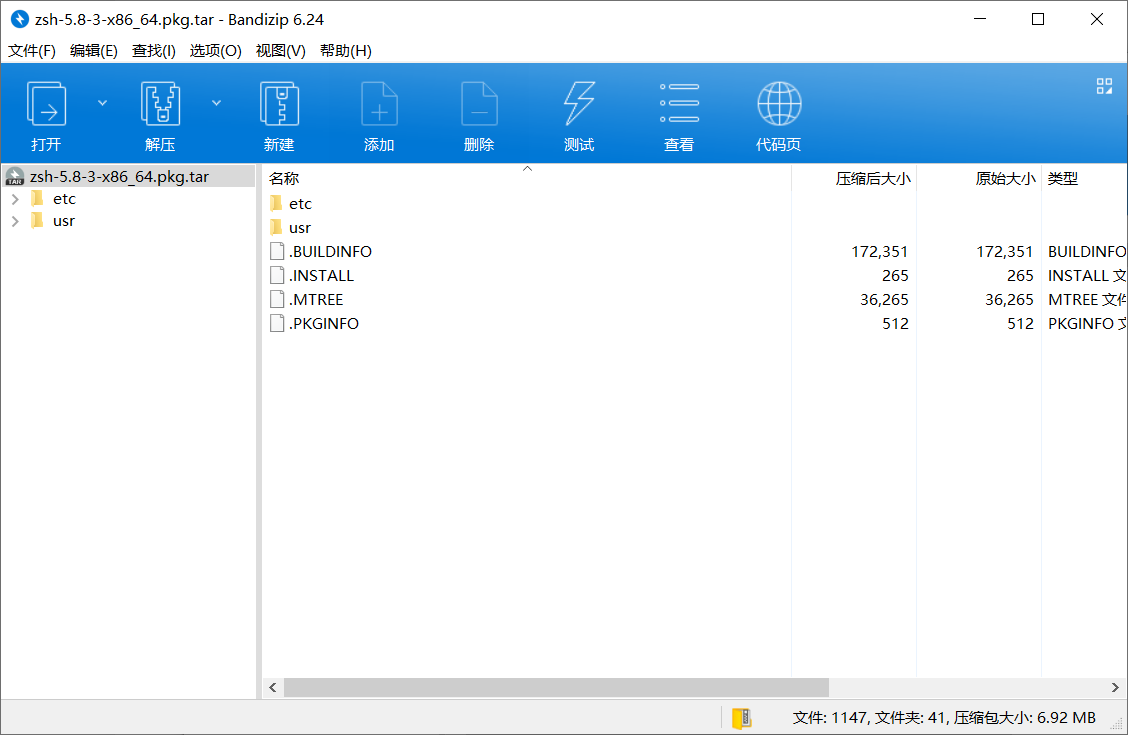
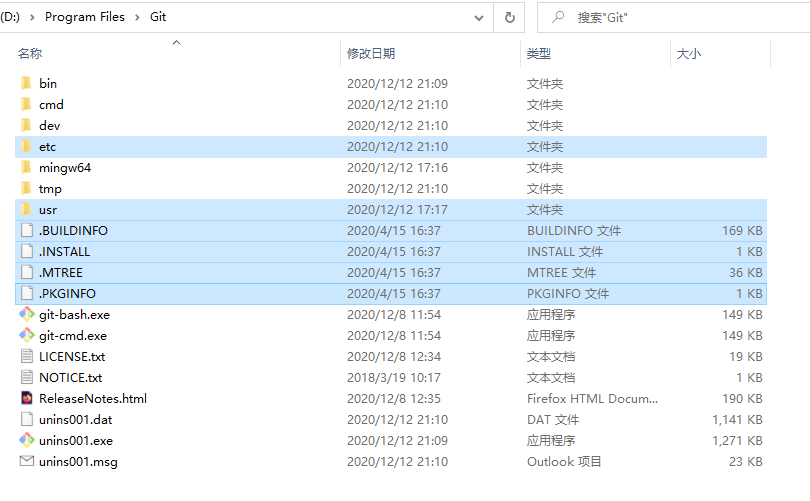
将这些文件直接解压到 Git 的安装目录下,与之前的文件进行合并,可以理解为把 zsh 当作 git bash 的一个补充安装包。
完成后的效果如下图所示。
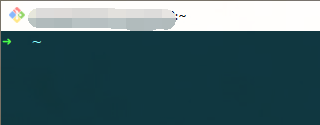
此时我们打开 git bash,敲下 zsh,神奇的场面出现了 我们并没有成功切换到 zsh(当然你进入了当我没说
这啥回事啊?这不对劲啊!我们回去看看合并了什么文件吧。
bash 会调用 /usr/bin/ 下的可执行程序,而 zsh 也在这个目录下。
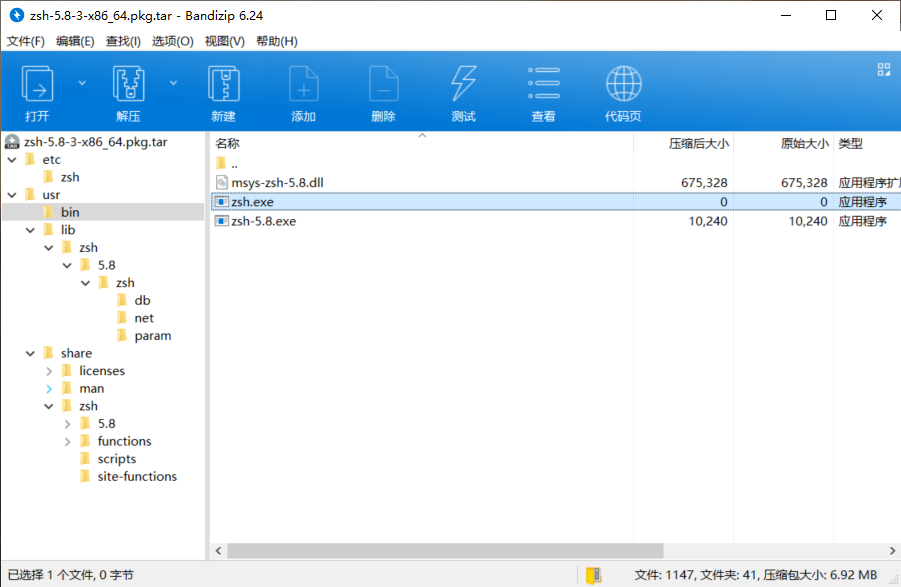
发现这个 zsh.exe 文件大小为0,感觉可能是个链接/快捷方式啥的,但不懂为啥这里用不通。
而真正用到的是这个 zsh-5.8.exe。
于是我们删掉 zsh.exe,把 zsh-5.8.exe 更名为 zsh.exe 就完事了。
这时再启动 git bash,敲下 zsh,嘿嘿,熟悉的 zsh 出来了!
当然这里可能会提示需要你配置一下 .zshrc,这个后面再说。
看一下 zsh 版本。
zsh --version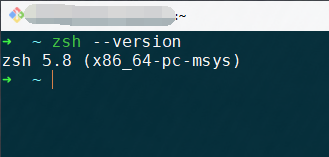
0x02 安装 Oh My Zsh
zsh 都有了,怎么能不上 oh my zsh 呢。
Oh My Zsh is a delightful, open source, community-driven framework for managing your Zsh configuration. It comes bundled with thousands of helpful functions, helpers, plugins, themes, and a few things that make you shout…
“Oh My ZSH!”
Official Website: http://ohmyz.sh
GitHub repo: https://github.com/ohmyzsh/ohmyzsh
在 zsh 里执行(curl)
sh -c "$(curl -fsSL https://raw.github.com/ohmyzsh/ohmyzsh/master/tools/install.sh)"
# 或者
# sh -c "$(curl -fsSL https://raw.githubusercontent.com/ohmyzsh/ohmyzsh/master/tools/install.sh)"
或者用 wget
sh -c "$(wget https://raw.github.com/ohmyzsh/ohmyzsh/master/tools/install.sh -O -)"国内下载可能会不大行(DNS 污染之类的),那就挂个 ladder 什么的在浏览器先下载到本地,然后在 zsh 里 sh install.sh 进行安装。
由于 chsh 在 git bash 里没有,这里可能会报错,但问题不大~
oh my zsh 相关的文件存放在 ~/.oh-my-zsh 目录下。
而 ~ 的目录为 C:\Users\<your username>.
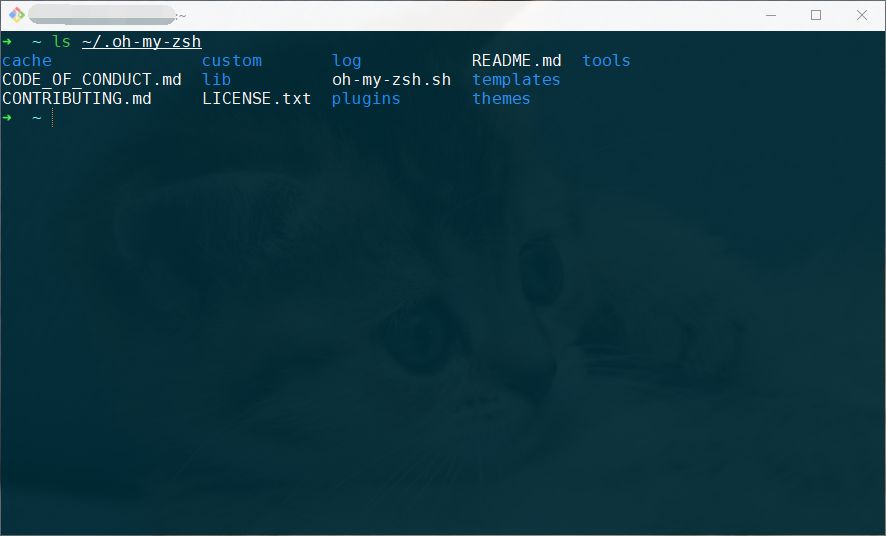
lib 提供了核心功能的脚本库
tools 提供安装、升级等功能的快捷工具
plugins 自带插件的存放位置
templates 自带模板的存放位置
themes 自带主题文件的存放位置
custom 个性化配置目录,自安装的插件和主题可放这里
Oh My Zsh 默认自带了一些默认主题,存放在~/.oh-my-zsh/plugins目录中,可以通过编辑 ~/.zshrc 文件中的 ZSH_THEME="robbyrussel" 进行配置。
P.S.: 很多主题需要先安装 Powerline Fonts 才能正常渲染图标。
0x03 Oh My Zsh 插件 & 一些配置
zsh-autosuggestions 自动补全
https://github.com/zsh-users/zsh-autosuggestions
参考 官方安装说明
git clone https://github.com/zsh-users/zsh-autosuggestions ${ZSH_CUSTOM:-~/.oh-my-zsh/custom}/plugins/zsh-autosuggestions然后编辑 ~/.zshrc,加入插件。
注意是以 空格 或者 空行 作为分隔符。
plugins=( [plugins...] zsh-autosuggestions)最后重启 zsh 即可。
zsh-syntax-highlighting 语法高亮
https://github.com/zsh-users/zsh-syntax-highlighting
参考 官方安装说明。
git clone https://github.com/zsh-users/zsh-syntax-highlighting.git ${ZSH_CUSTOM:-~/.oh-my-zsh/custom}/plugins/zsh-syntax-highlighting然后编辑 ~/.zshrc,加入插件。
plugins=( [plugins...] zsh-syntax-highlighting)最后重启 zsh 即可。
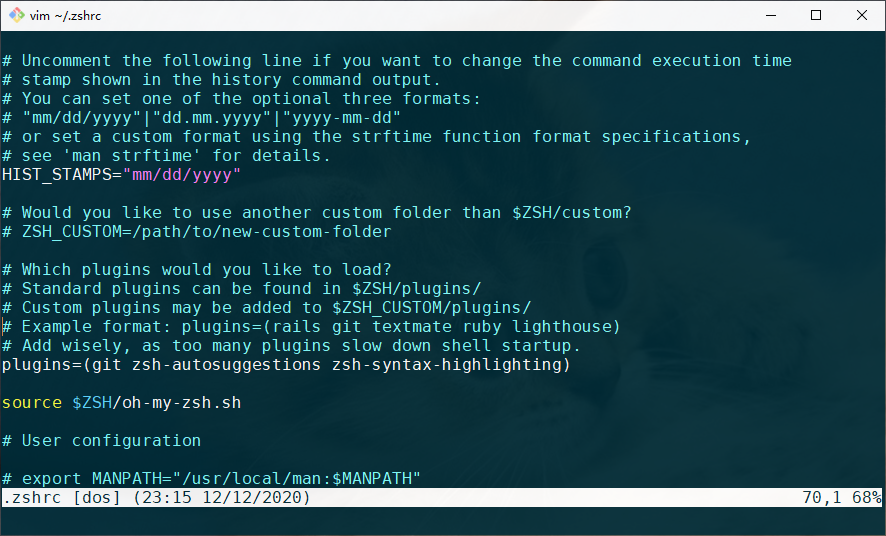
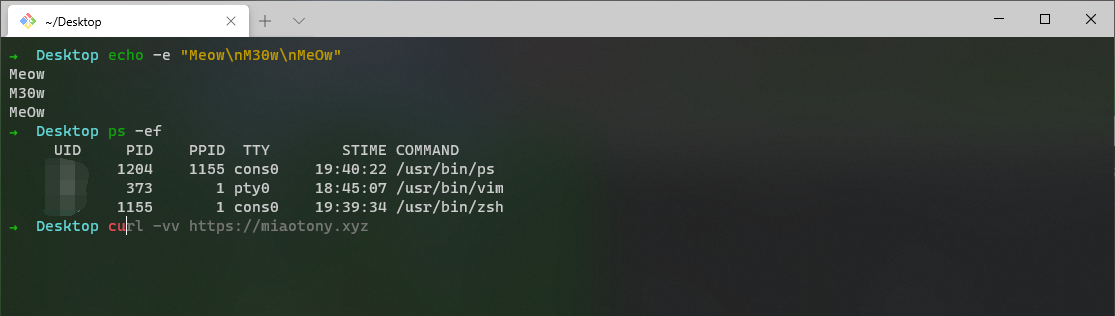
给history命令增加时间
啊其实这个不算是插件,混入的喵(
把 HIST_STAMPS 这个注释去除了就行,当然也可以设置成你喜欢的时间格式。
配置好的效果类似于下图。
更新 oh-my-zsh
默认的话是有更新的时候会提示,问你要不要更新。
如果需要它自动更新的话,把 ~/.zshrc 里下面这行注释取消就好了。
DISABLE_UPDATE_PROMPT=true手动更新的话,直接执行.upgrade_oh_my_zsh
Note:
upgrade_oh_my_zshis deprecated. Useomz updateinstead.
啊现在换成下面这个了。
omz update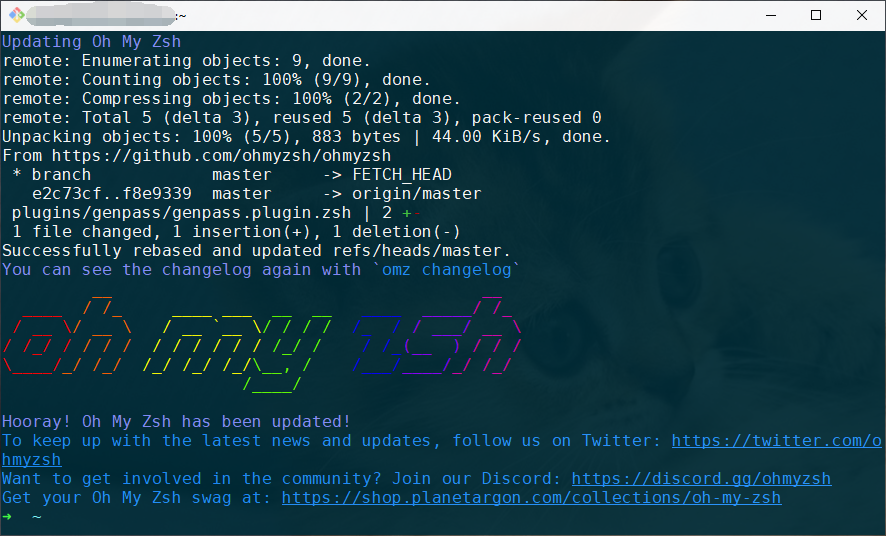
卸载 oh-my-zsh
(不会吧,这就卸了?
uninstall_oh_my_zsh0x04 配置 zsh 为 bash 默认终端
编辑 ~/.bashrc,或者是 D:\Program Files\Git\etc\bash.bashrc,加入下面的几行。
# Launch Zsh
if [ -t 1 ]; then
exec zsh
fi
而后重启 git bash 即可自动以 zsh 启动。
0x05 配置 Windows Terminal 使用 git bash
当然首先是在 Microsoft Store 里安装 Windows Terminal 了,这里略了。
你看 Terminal 多好看(
使用快捷键 Ctrl + , 打开配置文件 settings.json。
在 profiles > list 下新增一个 object,加入 git bash。
commandline 为 git bash 的路径。
为了确保 .bash_profile 被加载,需要在 commandline 选项中加入 -l -i 。
icon 图标是下面这个,当然也可以换成你喜欢的。
![]()
这里给出我的配置,供参考。
{
    "guid": "{1c4de342-38b7-51cf-b940-2309a097f589}",
    "hidden": false,
    "name": "git bash",
    "commandline": "\"D:\\Program Files\\Git\\bin\\bash.exe\" -i -l",
    "historySize": 9001,
    "name": "Bash",
    "closeOnExit": true,
    "useAcrylic": true,
    "acrylicOpacity": 0.85,  //透明度
    "icon": "D:\\tools\\my-git-bash\\git-icon.png",
	"startingDirectory": null
}
默认使用 git bash 作为 Terminal 启动
修改上述文件中的 defaultProfile 为 git bash 的 guid,此处为 {1c4de342-38b7-51cf-b940-2309a097f589}。
效果类似于
"defaultProfile": "{1c4de342-38b7-51cf-b940-2309a097f589}"0x06 将 Windows Terminal 加入到右键菜单
首先 在 cmd 里 测试一下下面这两个常量是否正常。
echo %USERPROFILE%
echo %LOCALAPPDATA%
如果有相应的信息输出,则后续可直接使用这两个常量。
否则需要进行如下替换:
%USERPROFILE% => C:\Users\<username>
%LOCALAPPDATA% => C:\Users\<username>\AppData\Local其中,<username> 是你的用户名。
新建目录
mkdir "%USERPROFILE%\AppData\Local\terminal"把 Windows Terminal 图标复制到这个目录下,图标放在 这里 terminal.ico。
将如下内容另存为 wt.reg, 然后以 “管理员权限” 运行
Windows Registry Editor Version 5.00

[HKEY_CLASSES_ROOT\Directory\Background\shell\wt]
@="Windows terminal here"
"Icon"="%LOCALAPPDATA%\\terminal\\terminal.ico"

[HKEY_CLASSES_ROOT\Directory\Background\shell\wt\command]
@="C:\\Users\\<your username>\\AppData\\Local\\Microsoft\\WindowsApps\\wt.exe"
请注意,对于最后一行 wt.exe 的路径,需使用完整的绝对路径,否则会报错。
而后双击执行,将配置添加到注册表。
效果就像下面这样了。
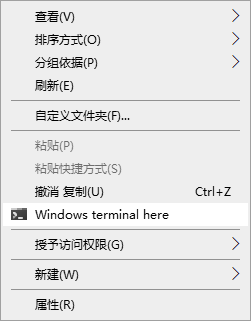
点击之后就能进入 git bash,使用 zsh 终端,并且就在当前目录下了。
0x07 一些 Git Bash 配置和快捷键
参考 https://github.com/xnng/my-git-bash
这里面还有一些特定针对于 git bash 的字体 / 主题 / Tmux / wget、tree安装 / VSCode + git bash 相关的设置。
但要注意,有一些和 zsh、Oh-my-zsh 的配置会有冲突 emmm
所以你喜欢用 zsh 的话,就直接配置 zsh 好了唉。
常用的快捷键
| 按键 | 效果 |
|---|---|
| Alt + Enter | 全屏 |
| 关闭窗口 | Ctrl + D(需当前行没有字符才可用) |
| 清屏 | Ctrl + L |
| 打开终端 | 右键快捷方式,在属性中自行设置 |
| 复制粘贴 | Ctrl + Shift + C/V(v2.20.0 版本后才支持) |
其他快捷键遵循
Bash标准快捷键,例如Ctrl + R搜索历史命令、exit退出终端、clear和reset清屏、Ctrl + E/A光标到行首尾,等等可自行搜索。
总结
反正贼舒服就是了!
(溜了溜了喵
References & Extensive Reading
- install-zsh-windows-git-bash.md
- install zsh with git-bash on Windows10
- CSDN: 利用Oh-My-Zsh打造你的超级终端
- Linux 终端美化 - Oh My Zsh
- 在windwos terminal 中使用git bash的alias
- GitHub: xnng/my-git-bash
- 使用 ohmyzsh 打造 windows、ubuntu、mac 系统高效终端命令行工具。
- B乎:新发布的Windows Terminal如何添加到右键菜单?
- win10 安装 oh my zsh 和 windows git bash 设置别名提高效率
- How to Install Oh My Zsh! on Windows 10 Home Edition
- etc.


