What is Huginn?
Huginn is a system for building agents that perform automated tasks for you online. They can read the web, watch for events, and take actions on your behalf. Huginn’s Agents create and consume events, propagating them along a directed graph. Think of it as a hackable version of IFTTT or Zapier on your own server. You always know who has your data. You do.
Huginn是一个神器,它是一个私人IFTTT,例如搭建任务采集触发平台,自动跟进实时提醒(用Email Slack Telegeram QQ 微信接收推送),全文 RSS 输出(把你关注的所有网页进行 RSS 全文输出),同时可以把各种app,软件,网络服务,网络设备等链接在一起做任务触发。
官方Github仓库:https://github.com/huginn/huginn
这个是我在玩爬虫的时候,偶然间在网上看到的一个工具,能做的事情还不少,觉得还挺不错的,这次就试着搭建一下吧。
Installation
手动安装的话,需要下面这样一步步来,感觉好麻烦……(懒
The Huginn installation consists of setting up the following components:
- Packages / Dependencies
- Ruby
- System Users
- Database
- Huginn
- Nginx
但是,Huginn还提供了一种通过docker来搭建的方式,可以免去配环境的烦恼,感觉贼好~
官方的文档在这里。
1. 安装 Docker
可以参考这里。
2. 安装 Huginn
最简单的就直接
docker run -it -p 3000:3000 huginn/huginn首先会把huginn给pull下来,然后运行。
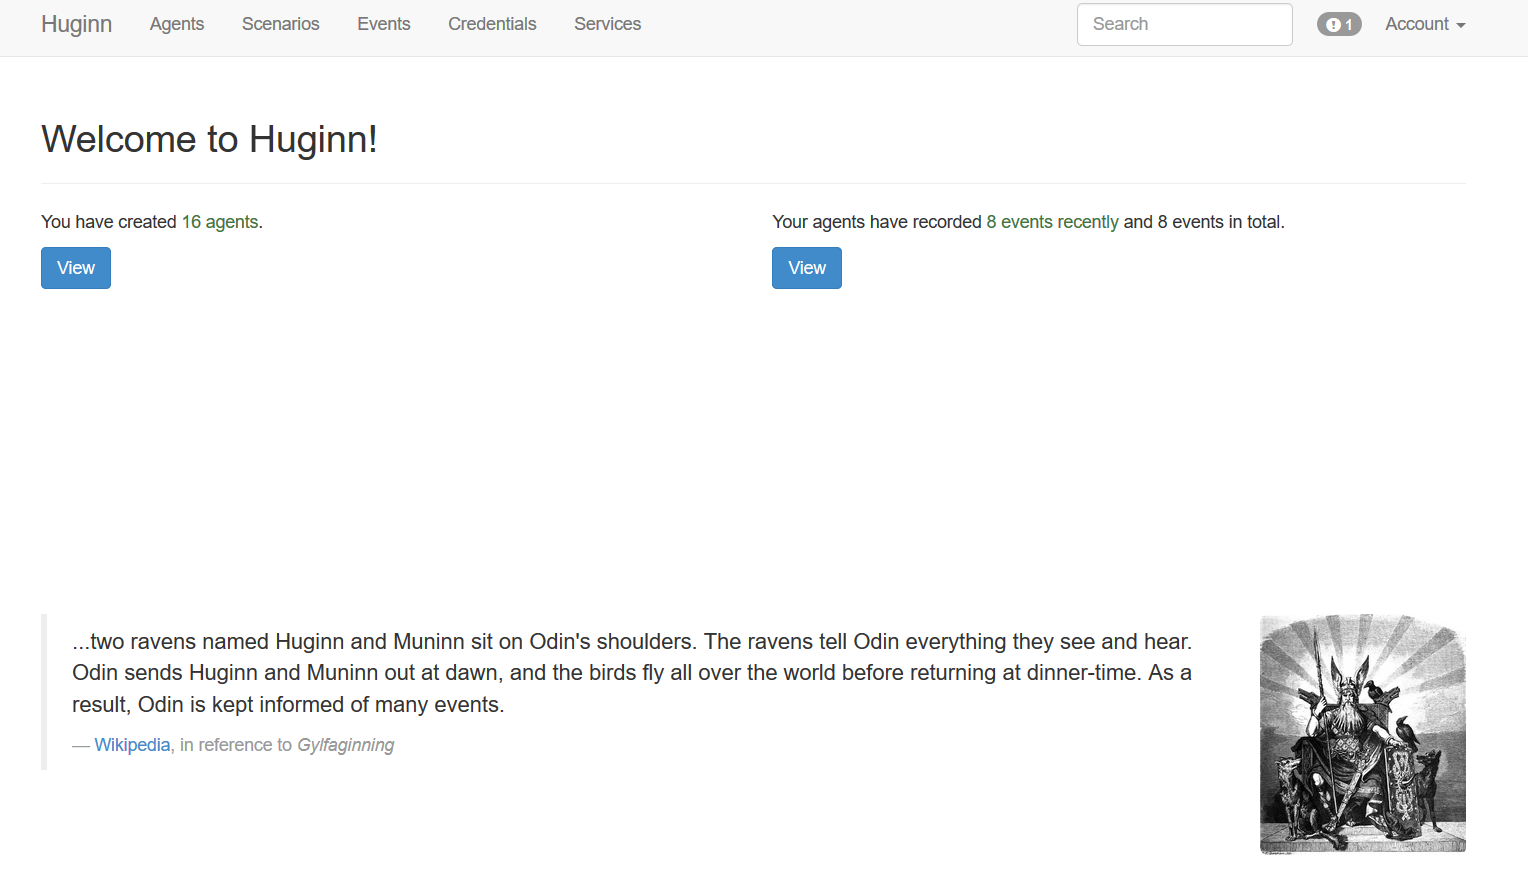
然后访问 http://localhost:3000 可以看到

3. 登录
利用username admin and password password登录,之后可以在Account里进行修改。

4. 配置开机自启
docker update --restart=always huginn好了,接下来就可以尽情感受huginn的魅力了!
Connect to local MySQL
上面的安装方法是最简单的,默认会在Docker容器里安装MySQL数据库等环境。
但是如果本机就装了一个MySQL数据库,需要 huginn 共享的话,
或者说想要huginn连接到本地数据库,可以像下面这样安装。
1. 安装 Docker
同上。
2. 配置 MySQL
2.1 修改绑定的IP为 0.0.0.0
这是为了让docker能连接到本地的数据库。
默认的 127.0.0.1 只能从本地访问。
MySQL:
vim /etc/mysql/mysql.conf.d/mysqld.cnf修改
bind-address = 0.0.0.0然后 重启
sudo systemctl restart mysql MariaDB:
/etc/mysql/mariadb.cnf包含了下面的所以.cnf文件
!includedir /etc/mysql/conf.d/
!includedir /etc/mysql/mariadb.conf.d/
我这里的在下面这个文件里
vim /etc/mysql/mariadb.conf.d/50-server.cnf同样修改 bind-address = 0.0.0.0
而后 重启
sudo systemctl restart mysql2.2 MySQL里新建 huginn 用户
当然也可以让huginn直接以root用户来访问数据库,那就直接跳到2.3节。
不过安全起见,还是新建一个用户吧。
以root登录MySQL / MariaDB
mysql -u root -p新建huginn用户,密码为PASSWORD
create user 'huginn'@'%' identified by 'PASSWORD';这个是允许从任意地方登录。
如果要限制从docker里启动,先ifconfig看下 docker0 的IP,一般是172.17.0.1,则 docker IP 为172.17.0.*,于是
create user 'huginn'@'172.17.0.%' identified by 'PASSWORD';2.3 赋予权限
GRANT ALL PRIVILEGES ON *.* TO 'huginn'@'172.17.0.%' IDENTIFIED BY 'PASSWORD' WITH GRANT OPTION;
flush privileges;如果限制访问的数据库则修改*.*为相应的数据库即可。
3. 配置 firewall
如果启用了 firewall 的话,需要放行本地的3306端口(即数据库的相应端口)。
Ubuntu:
sudo ufw allow 3306CentOS:
sudo firewall-cmd --zone=public --add-port=3306/tcp --permanent  # 开放端口
sudo systemctl restart firewalld.service    # 重启firewall
4. 安装 Huginn
首次安装:
docker run  --name huginn \
    -p 3000:3000 \
    --restart always \
    -e MYSQL_PORT_3306_TCP_ADDR=172.17.0.1 \
    -e HUGINN_DATABASE_NAME=huginn \
    -e HUGINN_DATABASE_USERNAME=huginn \
    -e HUGINN_DATABASE_PASSWORD=PASSWORD \
huginn/huginn这里建了一个名为huginn的数据库。
172.17.0.1是本地的IP,即在ifconfig看到的 docker0 的IP。确保在本地可以通过这个IP连上数据库。
之后直接这样即可↓。
docker start huginn上面首次安装时已经配置了开机自启。
当然也可以这样配置——
docker update --restart=always huginn好了,完工!


